
Step 1:
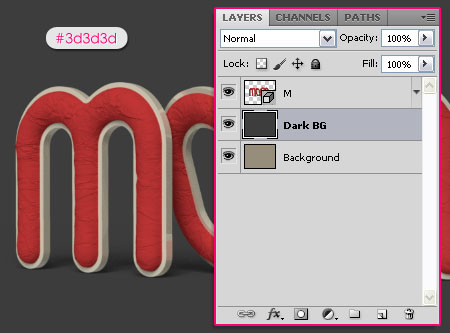
- Once you’re done rendering the 3D scene, create a new layer on top of the Background layer, and call it “Dark BG”. Fill the new layer with a dark color. Here, the color #3d3d3dis used.
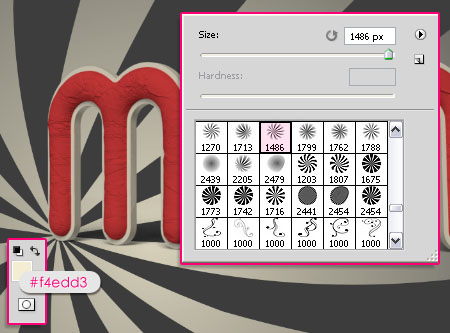
- Download the RisingSun brushes set, and load it into your Brushes Preset. Create a new layer on top of the “Dark BG” layer and call it “Rays”. Set the Foreground color to#f4edd3, and use brush 3 (or any other one you like) to add the rays-shape on the new layer.
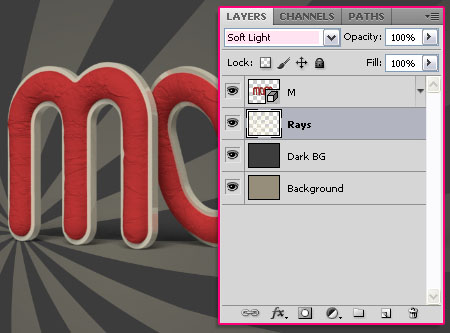
- Change the “Rays” layer’s Blend Mode to Soft Light.
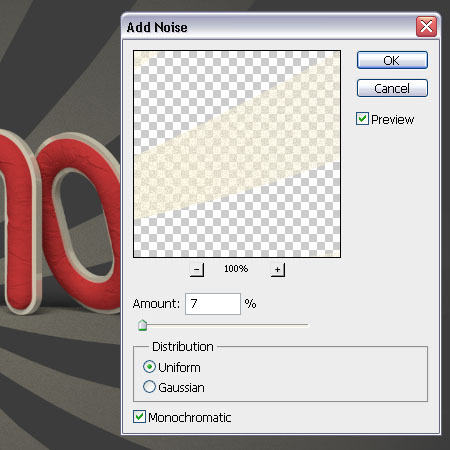
- Go to Filter -> Noise -> Add Noise, and set the Amount to 7, the Distribution toUniform, and check the Monochromatic box.
Step 2:
- Download the gvl – Suddenly Spring brushes and the Flower Brush Set 1, and load them into your Brushes Preset.
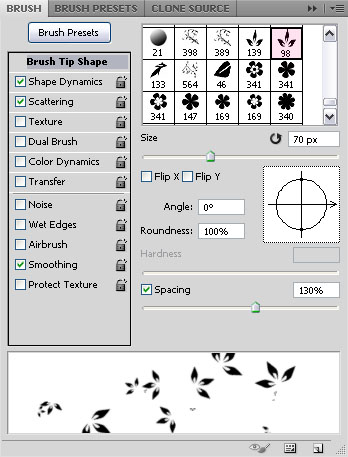
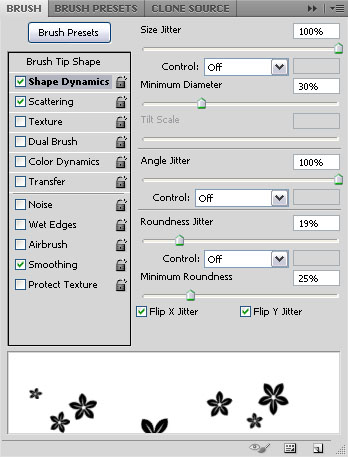
Pick the Sampled Brush 27, and open your Brush panel (Window -> Brush). Set the Size to something around 70px, and the Spacing to 130%.
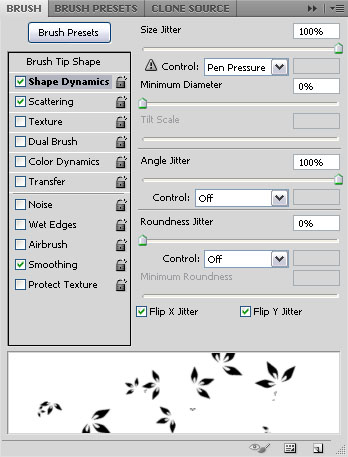
- Under Shape Dynamics, change the Size Jitter to 100%, and check the Flip X Jitter andFlip Y Jitter boxes.
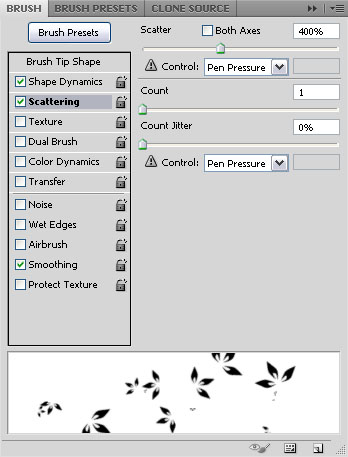
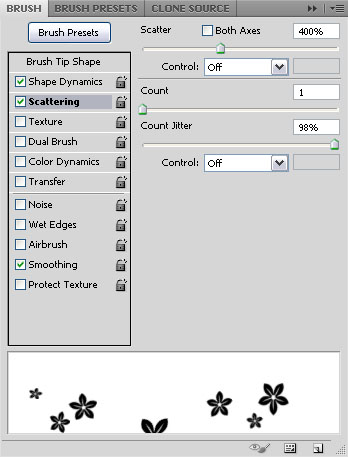
- Finally, under Scattering, change the Scatter value to 400%.
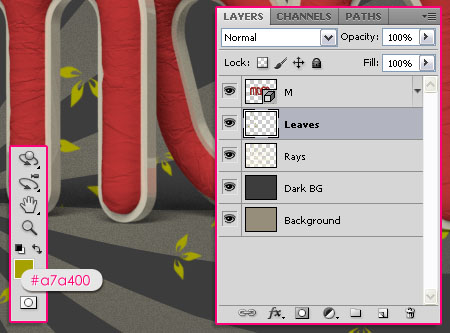
- Create a new layer on top of the “Rays” layer and call it “Leaves”. Set the Foreground color to #a7a400, and start painting some stokes of leaves with the brush. You can Undo/Redo the process until you’re satisfied with the result.
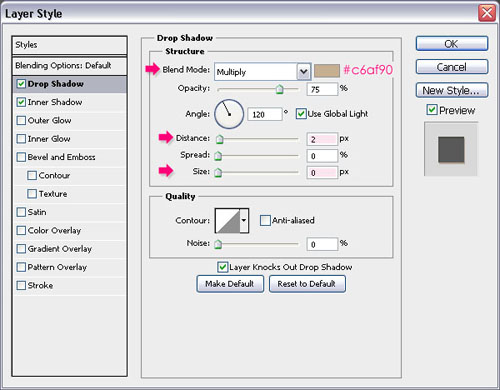
- Once you’re done painting the leaves, double click on the “Leaves” layer to add the following styles:
- Drop Shadow: Change the color to #c6af90, the Distance to 2, and the Size to 0.
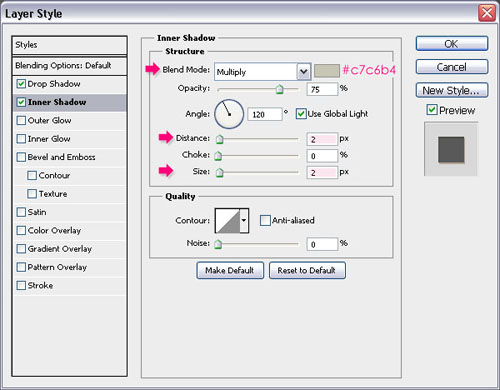
- Inner Shadow: Change the color to #c7c6b4, and change both the Distance and Sizevalues to 2.
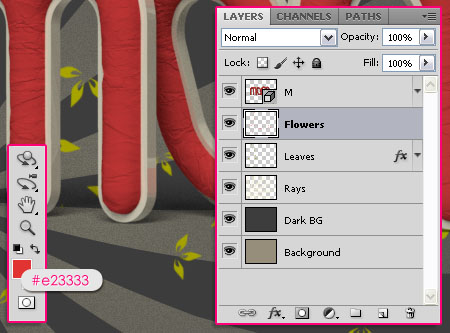
Step 3:
- Create another new layer on top of the “Leaves” layer, and call it “Flowers”. Set the Foreground color to #e23333.
- Pick the Sampled Brush 19, and in the Brush panel, make sure that the Size is 45, and the Spacing is 130%.
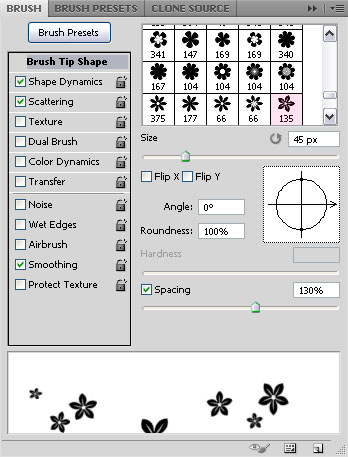
- Check the values under Shape Dynamics and Scattering below. You might change any of those values if you like.
- Again, paint the flowers on the new layer.

- Once you’re done painting, double click on the “Flowers” layer to add the following styles:
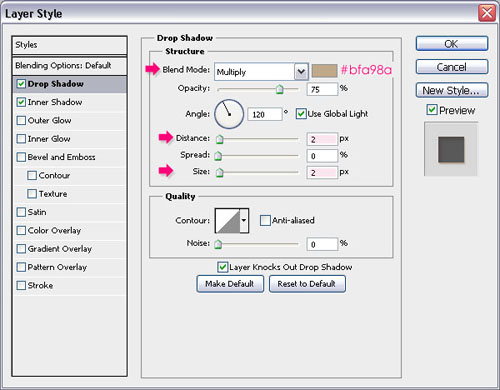
- Drop Shadow: Change the color to #bfa98a, and change both the Distance and Sizevalues to 2.
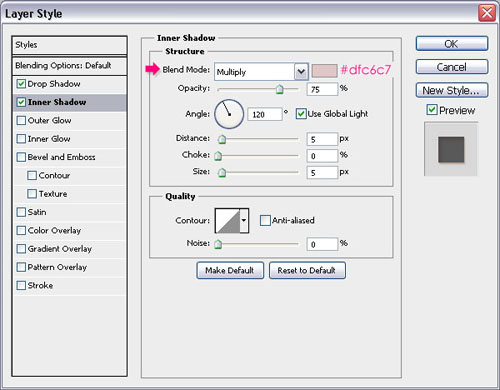
- Inner Shadow: Just change the color to #dfc6c7.
Applying the styles adds more depth to the painted shapes, and makes them pop out even more.
Step 4:
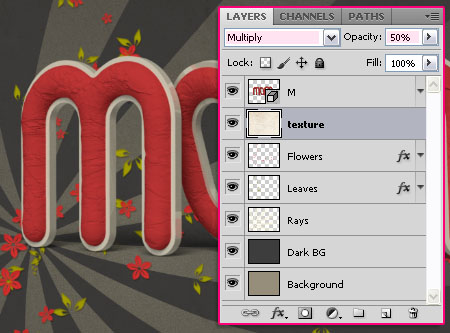
- Open the Grungy paper texture v.5 and place it under the 3D text layer.

- Change the “texture” layer’s Blend Mode to Multiply, and the Opacity to 50%.
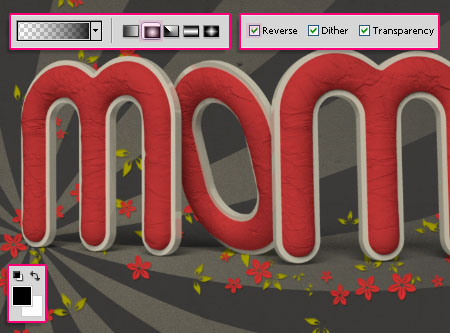
- Create a new layer on top of the “texture” layer and call it “Gradient”. Set the Foreground color to Black, and grab the Gradient Tool to create a Radial Gradient, using the Foreground to Transparent option. Check the Reverse box so that the black color covers the corners not the center, and drag the mouse from the center of the document to one of the corners.
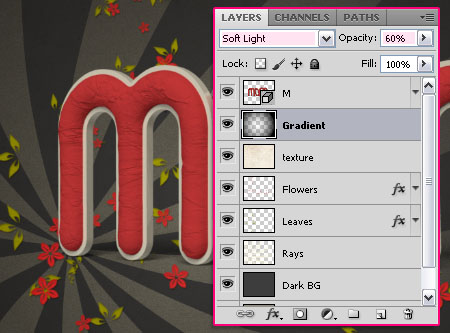
- Change the “Gradient” layer’s Blend Mode to Soft Light, and the Opacity to 60%.
Step 4:
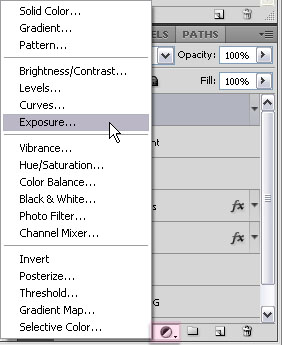
- Finally, we’ll be brightening up the text colors so that they look more vibrant and vivid. To do so, click on the 3D text layer, then, click the “Create new fill or adjustment layer” icon at the bottom of the layers panel. Choose the Exposure adjustment layer.
- Right click on the Exposure adjustment layer, and choose Create Clipping Mask.
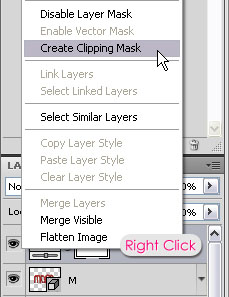
- This will make the adjustment layer affect the 3D text layer only (the layer below it).
- Change the Exposure to 0.55, the Offset to -0.0080, and the Gamma Correction to0.80.
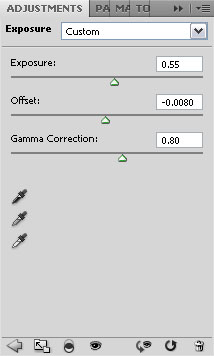
- You can change the values as you like, or use other adjustment layers. But for now, that’s it.
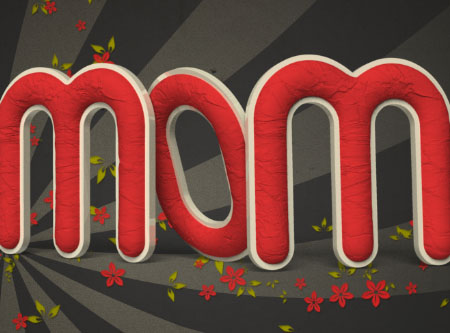
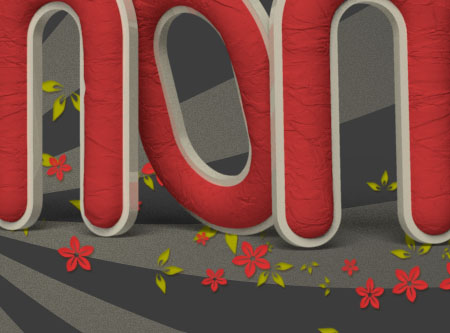
And this is the final result once again.


0 komentar:
Posting Komentar